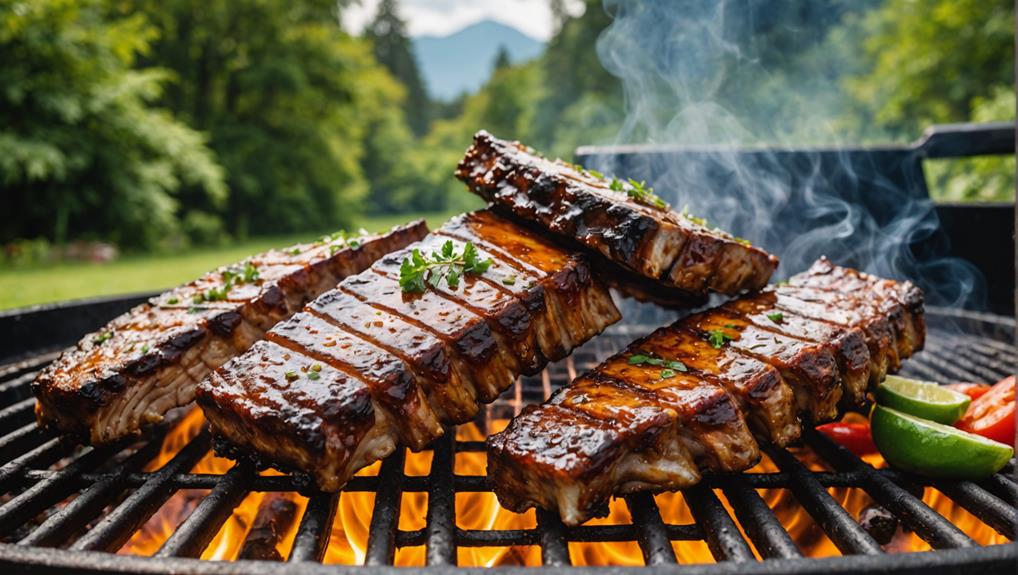
When it comes to grilling ribs, there’s more to it than just tossing them on the grill. You start by selecting the appropriate ribs, whether it’s baby back, spare ribs, or another style, each offering a distinct taste and texture. Removing the membrane and applying a well-balanced dry rub is essential for infusing flavor. As you set up your grill, mastering the indirect cooking method guarantees even heat distribution. But how do you achieve that ideal balance of tenderness and flavor? Stick around to uncover the secrets that elevate your ribs from good to unforgettable.
Table of Contents
Key Takeaways
- Select the right type of ribs based on preference for optimal grilling results.
- Remove the membrane and apply a dry rub for enhanced flavor and tenderness.
- Set up a grill with a two-zone fire and use indirect heat for even cooking.
- Use the 2-2-2 method: grill unwrapped, wrap in foil, and baste with BBQ sauce.
- Check rib doneness with a meat thermometer and ensure meat pulls back from bones.
Selecting the Right Ribs
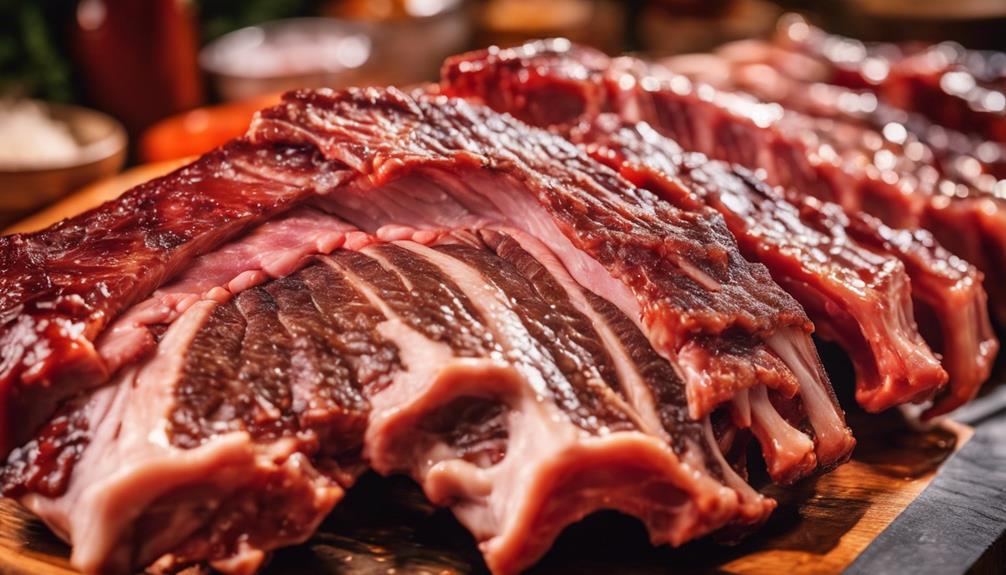
When it comes to grilling ribs, choosing the right cut is crucial. You’ll find four main types of ribs to ponder: baby back ribs, spare ribs, St. Louis, and country style. Each offers a unique grilling experience.
Baby back ribs are a popular choice for beginners due to their smaller size and even cooking nature, making them the easiest to grill. If you’re looking for a meatier option, spareribs might be your go-to. They deliver more meat but require longer cooking times on the grill to ensure tenderness.
St. Louis ribs, essentially spare ribs trimmed down to a rectangular shape, offer a balance between meatiness and manageable grilling. They’re slightly less meaty than spareribs but provide a uniform shape that’s easier to handle on the grill.
Country-style ribs are cut from the shoulder, offering a different texture and flavor profile. They’re not technically ribs but are still a great option for grilling enthusiasts.
When selecting, ponder your personal preference and adjust cooking times accordingly. Remember, all types of ribs can be grilled successfully if you pay attention to their specific requirements and cooking times. Enjoy your grilling adventure!
Essential Ingredients
To commence on your rib-grilling journey, you’ll need to gather a few essential ingredients that will elevate your dish to new heights. Start with the star of the show: the ribs. Whether you choose pork ribs or beef ribs, each offers a unique flavor profile that will shine on the grill.
Next, focus on crafting a killer dry rub. A well-blended spice rub typically includes cumin, paprika, cayenne, and a touch of brown sugar, creating a robust flavor base for your ribs.
Once your ribs are seasoned, a sweet and tangy barbecue sauce is key to glazing them during grilling. This sauce will caramelize beautifully over the heat, enhancing the smoky flavors from your charcoal grill.
While ribs are the main event, remember that this recipe’s dry rub and barbecue sauce can also transform grilled chicken into a mouthwatering dish.
Don’t underestimate the importance of these ingredients. The right combination of a flavorful dry rub and a well-balanced barbecue sauce is essential for achieving that perfect mouthwatering taste. So, get ready to fire up your charcoal grill and impress everyone with your deliciously seasoned ribs.
Preparing Your Ribs
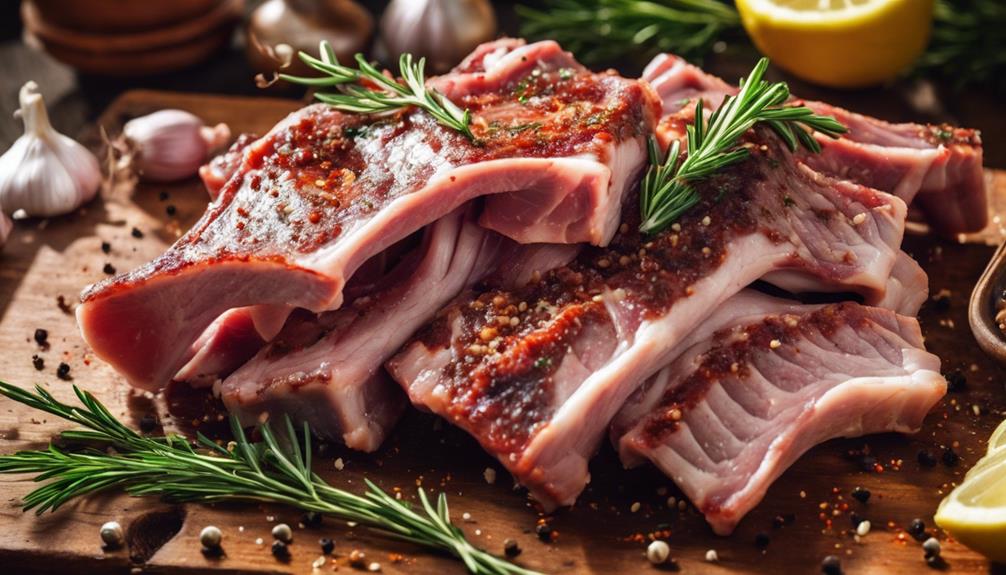
To start preparing your ribs, make sure you remove the silver membrane from the back, as this step is essential for tenderness and flavor absorption.
Once the membrane is off, generously apply your favorite spice rub to enhance the taste and create a delicious crust.
With these steps complete, your ribs are ready for the grill.
Membrane Removal Technique
You’ve got your ribs ready, but before you start seasoning, there’s an important step you shouldn’t skip: removing the membrane. This thin, silvery skin on the backside of the ribs can block flavors from penetrating, making your seasoning and grilling efforts less effective.
Start by using a paring knife to loosen the membrane at one end of the ribs gently. Once you’ve got a good grip, begin peeling it off carefully. The goal is to remove it in one piece, ensuring nothing remains to prevent those delicious flavors from soaking in.
The membrane can be a bit slippery, so grab a paper towel for an easier grip. This will help you maintain control as you work your way across the ribs.
This step is important because leaving the membrane on can lead to tough, chewy ribs. Removing it not only allows your seasonings to better infuse the meat but also helps prevent toughening during grilling. Proper membrane removal results in a more enjoyable eating experience, ensuring your ribs are tender and flavorful.
With this task complete, you’re now ready to move on to the next step in creating the perfect ribs.
Spice Rub Application
Now that the membrane is removed, it’s time to move on to an important step: applying the spice rub to your ribs. This step is vital for infusing your ribs with rich flavor before they hit the grill. You’ll want to prepare a spice rub blend that could include garlic salt, paprika, chili powder, and other seasonings. The goal here is to create a mix that not only enhances the taste but also helps form a savory crust as the ribs cook.
Here’s how you can guarantee a successful spice rub application:
- Generous Coating: Sprinkle the spice and rub liberally over both sides of the ribs. Make sure every inch is covered to secure even flavor distribution.
- Massage and Press: Rub the spices firmly into the meat. This not only ensures the seasoning sticks but also helps the flavors seep deeper into the ribs.
- Resting Time: Allow the seasoned ribs to sit for at least 15 minutes. This gives the spices time to meld with the meat, enhancing the overall taste of your grilled ribs.
Setting Up the Grill
A well-prepared grill is the foundation of perfectly cooked ribs. To start, you’ll want to preheat your grill to low heat, aiming for 250-300°F, which is ideal for the slow, indirect heat method that ribs crave. Whether you’re using a gas grill or a charcoal grill, this setup guarantees your ribs cook evenly and stay juicy.
For a charcoal grill, create a two-zone fire by stacking the coals on one side. This allows you to cook the ribs with indirect heat on the opposite side, preventing them from burning.
On a gas grill, achieve the same indirect cooking by leaving one side burner off. This technique is key for slow-cooking ribs to tender perfection.
Place a drip pan filled with water or apple juice under the grates on the indirect heat side. This keeps the ribs moist and adds a subtle flavor.
Make sure your grill is clean and well-oiled to prevent sticking and flare-ups. A well-oiled grill grate not only makes flipping the ribs easier but also guarantees they don’t tear or lose that delicious bark. With your grill set up, you’re ready for the next step in rib perfection.
Applying the Dry Rub
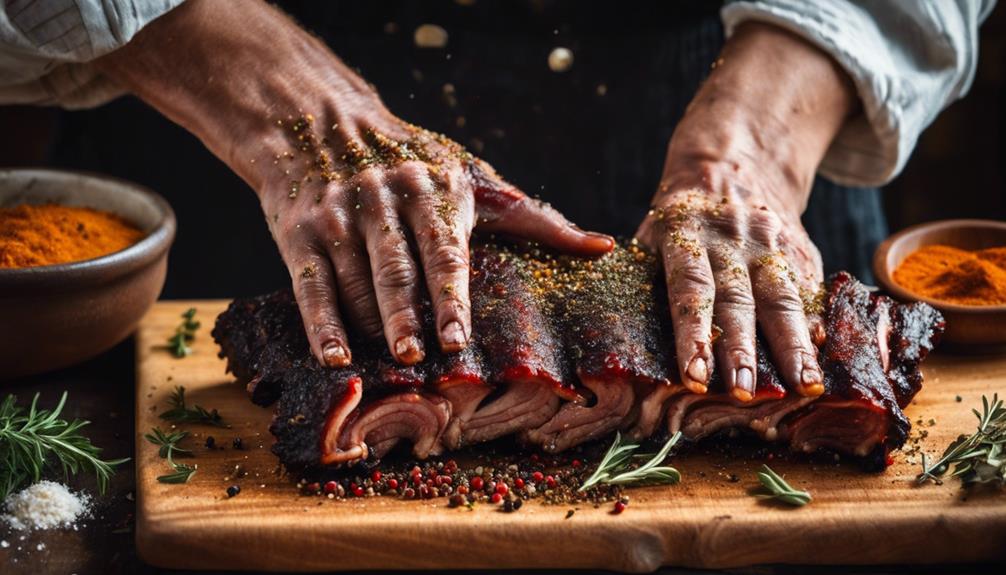
With your grill perfectly set up, it’s time to focus on flavoring the ribs. The secret to mouthwatering ribs lies in the dry rub—a delightful blend of spices, herbs, and seasonings that infuse the meat with robust flavor. Before grilling, gather your ingredients, which might include cumin, paprika, cayenne, brown sugar, and salt. These combine to create a harmonious balance of sweet, spicy, and savory notes.
When applying the dry rub, make sure you coat both sides of the ribs evenly. This consistency is vital to achieving a well-seasoned flavor throughout. Follow these three steps to maximize your flavor:
- Massage the Rub: Gently massage the dry rub into the meat. This helps the seasonings adhere and initiates the process of flavor penetration.
- Let it Sit: Allow the ribs to sit with the rub for at least 30 minutes or even overnight. This resting period is essential for the spices to penetrate the meat deeply.
- Create a Crust: As the ribs grill, the dry rub will form a flavorful crust, enhancing both texture and taste.
Cooking With Indirect Heat
To achieve perfectly tender ribs, employ the method of cooking with indirect heat on your grill. This technique keeps your ribs away from direct flames, allowing them to cook slowly and evenly. By placing the ribs on the cooler side of the grill, you prevent burning and charring, ensuring that every bite is tender and juicy.
Using indirect heat also infuses your ribs with a delightful smoky flavor, enhancing their taste without overwhelming the senses. The slow, even cooking process allows the ribs to absorb the smoky goodness from the grill, making them a delicious centerpiece for any meal.
You’ll find that the indirect heat method gives you more control over heat distribution, which is essential for maintaining the ribs’ moisture and tenderness.
Start by preheating your grill and setting it up for indirect cooking. Place a drip pan under the grill grates to catch any drippings, and arrange coals or turn on burners only on one side of the grill. Position your ribs on the opposite side, away from direct heat. This setup allows for consistent temperature, ensuring your ribs cook to perfection.
Enjoy the process and savor the results—you’ll love the difference it makes.
Using the 2-2-2 Method
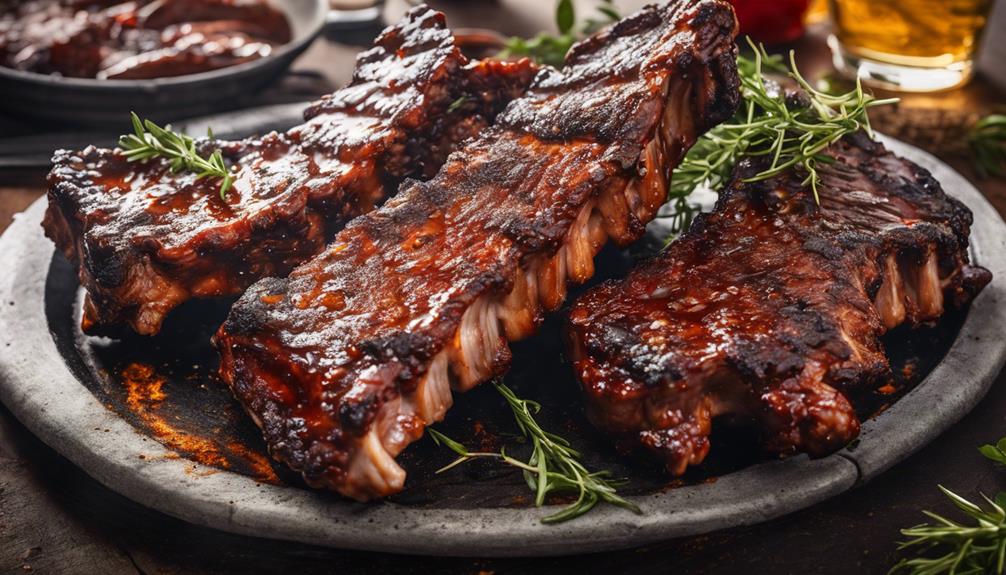
Embrace the 2-2-2 method for grilling ribs, and you’ll achieve a perfect balance of tenderness and flavor. This ribs recipe is designed to grill ribs low and slow, ensuring they fall off the bone with ease. Start by seasoning your ribs with a flavorful rub recipe. Place them on the grill for the first two hours, unwrapped, to let the smoke infuse, and the rub create a delicious crust.
Next, wrap your ribs in aluminum foil for the middle two hours. This step is essential as it locks in moisture, enhancing the tenderness of the meat. The steam within the foil works its magic, making the ribs juicy and succulent.
Finally, unwrap the ribs and apply your favorite BBQ sauce. This last two-hour phase allows the sauce to caramelize, adding a mouth-watering glaze to the ribs. Remember these key steps:
- Initial Smoke: Establishes flavor and crust.
- Foil Wrap: Retains moisture, ensuring tenderness.
- Sauce Glaze: Adds caramelization and depth.
Once you’ve completed the cooking process, let them rest. This allows the juices to redistribute, ensuring each bite is as flavorful and juicy as possible.
Basting With Barbecue Sauce
When it comes to basting with barbecue sauce, you’re adding that irresistible sweet and tangy flavor that elevates grilled ribs to new heights. As you grill ribs, timing is key. Start basting during the last 10-15 minutes of grilling to allow the sauce to thicken and create a delightful caramelized finish. This step is pivotal for forming a flavorful glaze that enhances every bite.
To achieve a robust flavor profile, don’t hesitate to apply multiple layers of barbecue sauce. Each layer builds upon the last, creating depth and complexity in taste. The sauce not only enriches the flavor but also adds essential moisture, ensuring your ribs remain juicy and tender throughout the grilling process.
Basting acts as a protective coating, sealing in the natural juices and preventing the ribs from drying out. As the sauce seeps into the meat, it contributes to a moist, succulent texture that’s hard to resist. Remember, patience and precision are your allies here—apply each layer carefully and allow it to set before adding the next. By following these steps, you’ll transform your ribs into a mouthwatering masterpiece that’s bursting with flavor.
Checking Rib Doneness
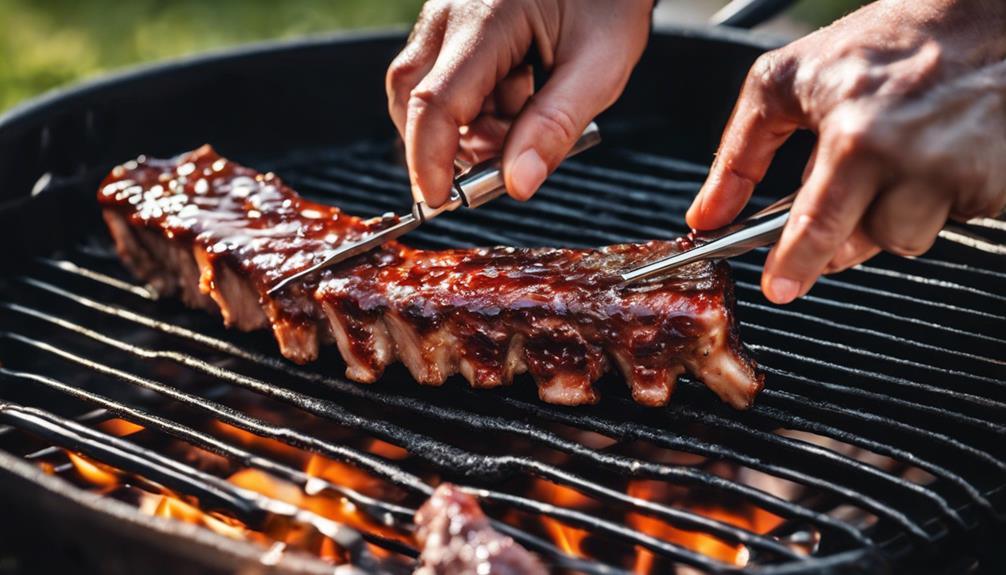
After basting your ribs with layers of flavorful barbecue sauce, it’s time to make sure they’re cooked perfectly. Checking the doneness of your ribs is essential to achieving that ideal combination of tenderness and a caramelized crust. Start by using a meat thermometer to check the internal temperature. Aim for 200-203 degrees F, which indicates the ribs are cooked to the best level and ready to enjoy.
Here are three key steps to determine if your ribs are done:
- Internal Temperature: Insert a meat thermometer into the thickest part of the ribs, avoiding the bone. You want to see a temperature between 200-203 degrees F for optimal doneness.
- Meat Pull Back: Observe the ribs closely. Look for the meat to pull back from the bones slightly. This visual cue signifies that the ribs are cooked through and ready to be savored.
- Tenderness Test: Use a toothpick or fork to probe the meat gently. It should slide in easily, indicating tenderness. The ribs should have a slight “give” when pressed but shouldn’t be overly soft or mushy.
These steps guarantee your ribs are juicy, flavorful, and perfectly cooked.
Serving and Enjoying
The satisfaction of biting into perfectly grilled ribs is unmatched, and serving them is just as rewarding. Start by pairing your delicious ribs with classic barbecue sides like coleslaw, cornbread, or baked beans. These sides enhance the barbecue experience and balance the rich flavors of the ribs.
Remember, a revitalizing beverage is essential; iced tea, lemonade, or a cold beer will perfectly complement the meal and keep the summer vibes alive.
Before placing your ribs on the serving platter, add a finishing touch with fresh herbs. Chopped parsley or cilantro not only provide a pop of color but also add a burst of invigorating flavor, making your dish visually appealing and irresistible.
A backyard cookout is the perfect setting to share your grilled creation. Invite friends and family over for a summer gathering, where the aroma of the grill sets the stage for a memorable feast.
Don’t forget to have plenty of napkins on hand. Ribs are famously messy, and the finger-licking goodness is part of the fun. Embrace the mess, enjoy every bite, and savor the joy of a summer cookout with your loved ones.
Frequently Asked Questions
How Long Does It Take for Ribs to Cook on the Grill?
You’ll cook ribs on the grill for about 1 to 2 hours. Start with rib preparation, applying a rib seasoning or marinade. Maintain grilling temperature, use a good flipping technique, apply sauce, and guarantee proper grill maintenance for smoky flavor.
Should Ribs Be Wrapped in Foil When Grilling?
When debating foil usage, consider moisture retention and flavors infused. Wrapping aids temperature control, ensuring tender results. While foil impacts bark formation, cooking techniques vary. Whether using charcoal or gas, foil enhances rib tenderness, sparking the foil debate.
How to Grill Ribs on a Propane Grill?
Preheat your grill to 300°F for indirect heat. Apply rib seasoning and place ribs bone-side down. Maintain grill temperature; wrap ribs for tenderness. Baste with sauce; use direct heat for smoke flavor. Flip ribs occasionally; rest before serving.
What Is the 3:2:1 Method for Grilling Ribs?
The 3:2:1 method involves rib preparation, seasoning ribs, and smoking ribs for 3 hours. Wrap them for rib tenderness, maintain rib temperature for 2 hours, and then apply rib basting. Allow rib rest before rib slicing and rib presentation.
Conclusion
Grilling ribs can be a rewarding experience when you follow the right steps. You’ve selected your favorite type of ribs, prepared them with a flavorful dry rub, and set up your grill for success. By using the 2-2-2 method and basting with barbecue sauce, you’ve secured that your ribs are tender and full of flavor. Check their doneness with a meat thermometer, and serve them with tasty sides. Enjoy your delicious, homemade ribs with friends and family!