When it comes to seasoning your Blackstone griddle, you’ll want to start by understanding the significance of a well-prepared surface. Cleaning it thoroughly and choosing the right oil are vital first steps. Using flaxseed or canola oil, you’ll create a protective, non-stick coating through a simple yet effective process. But what happens if food starts sticking or you notice discoloration? These might be signs that your griddle needs re-seasoning. So, how exactly do you maintain that perfect cooking surface over time? Let’s explore the ins and outs of keeping your griddle in top shape.
Table of Contents
Key Takeaways
- Clean the Blackstone griddle with warm, soapy water, rinse, and dry thoroughly.
- Preheat the griddle on high heat for 10-15 minutes before applying oil.
- Use a high smoke point oil, like flaxseed or canola, for seasoning.
- Apply a thin, even layer of oil and heat until it smokes to form a non-stick layer.
- Repeat the oil application and heating process 2-3 times for optimal seasoning.
Preparing Your Griddle
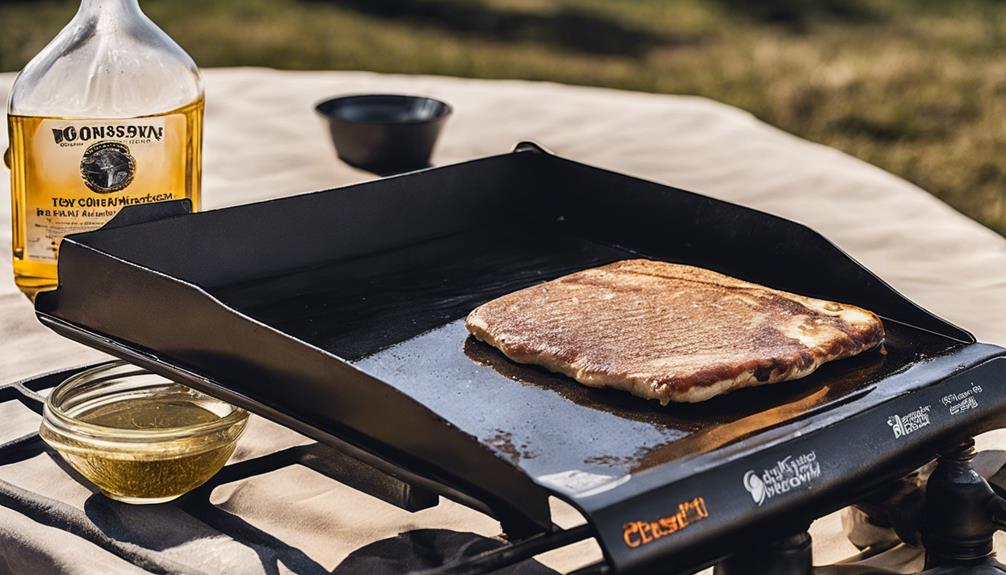
To kick off the seasoning procedure, you’ll need to prepare your Blackstone griddle with care. Start by cleaning the griddle thoroughly with warm, soapy water. This step guarantees that all residue or debris is effectively lifted, which is vital for a successful seasoning procedure.
Next, rinse the griddle with clean water to wash away any lingering soap. It’s crucial to remove all soap residue as it can cause interference during the seasoning procedure, preventing the oil from bonding properly.
After rinsing, make sure the griddle is completely dry. Moisture left on the surface can hinder the seasoning procedure, so take the time to dry it thoroughly.
Preparing the griddle surface correctly sets a strong foundation for seasoning, ensuring that the oil layers adhere well and create a durable coating.
Choosing the Right Oil
When it comes to seasoning your Blackstone griddle, picking the right oil is vital. Choosing an oil with a high smoke point guarantees the best results. Oils like flaxseed oil and canola oil are popular choices because they can withstand the high heat needed for proper griddle seasoning without breaking down or burning.
Low-smoke point oils, such as butter, should be avoided as they can burn quickly and fail to form an effective non-stick coating on the griddle surface.
Flaxseed oil is often recommended for creating a strong, durable, non-stick surface. It polymerizes well, meaning it bonds to the griddle surface, providing a reliable, non-stick coating that enhances both cooking and cleaning.
Canola oil is another excellent option, offering a balance of affordability and effectiveness for griddle seasoning.
The right oil selection is essential not only for the immediate seasoning process but also for the long-term durability of your Blackstone griddle. A well-seasoned surface protects the griddle from rust and wear, guaranteeing your cooking experience remains enjoyable for years to come. So, take your time to choose wisely, and your Blackstone griddle will reward you with consistent performance.
Step-by-Step Seasoning

Now that you’ve selected the right oil, it’s time to begin the step-by-step seasoning process for your Blackstone griddle. Start by cleaning the griddle thoroughly with soapy water to remove any factory coating. Rinse it with clean water and dry it completely.
It would be best if you seasoned the griddle, so preheat it on high heat for 10-15 minutes. This will open up the metal’s pores, preparing it for the oil.
Next, apply a thin layer of high smoke point oil, such as flaxseed oil. Spread the oil evenly across the entire surface with a paper towel or soft cloth. Make sure it’s just a thin coat, as too much oil can result in a sticky residue. Heat the griddle back up until the oil starts smoking. This means the oil is bonding with the metal, creating a protective non-stick layer.
Once the smoking stops, let the griddle cool slightly. Repeat this seasoning process 2-3 times. Each time you season, the griddle plate will darken, achieving that ideal dark, even surface. This guarantees top cooking performance, allowing you to enjoy your Blackstone griddle to its fullest potential.
Maintaining the Seasoned Surface
After seasoning your Blackstone griddle, maintaining the seasoned surface to guarantee peak performance is vital. A well-maintained surface ensures excellent cooking performance and extends the life of your griddle. Here’s how you can keep your Blackstone griddle in top shape:
- Proper Cleaning: After each use, clean your griddle thoroughly to remove food residue and prevent buildup. A clean surface is essential for maintaining non-stick properties.
- Wipe with Oil: Once the griddle is clean and dry, apply a thin layer of oil. This oiling routine helps sustain the seasoned surface and prevents rust from forming.
- Cover When Not in Use: Protect your griddle by covering it when you’re not using it. This shields it from humidity, rain, and environmental factors that can damage the seasoned surface.
- Regular Maintenance: Consistently follow a cleaning and oiling routine to preserve the non-stick surface. This regular maintenance ensures your griddle’s longevity and best cooking performance.
Re-Seasoning Indicators
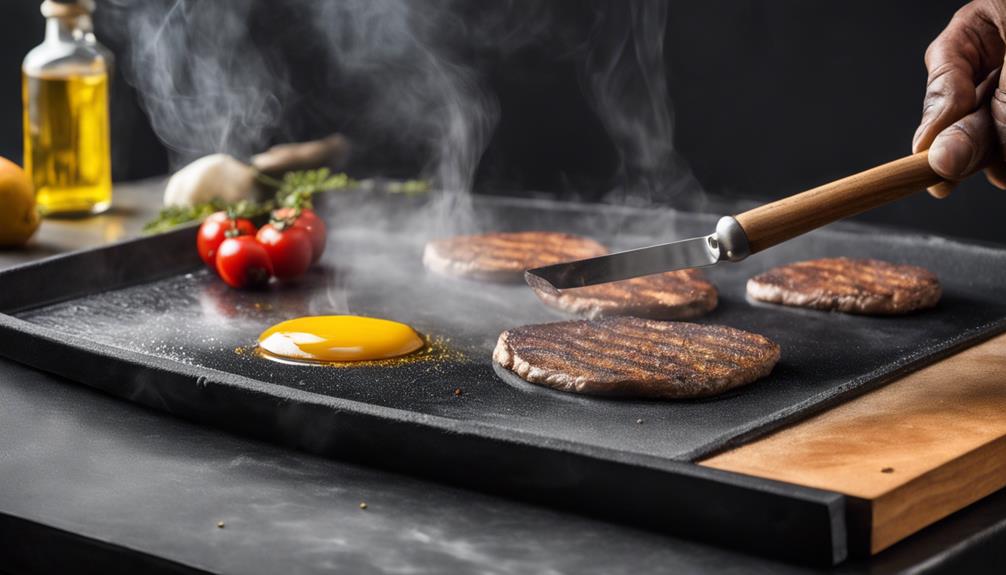
If you notice food starting to stick to your Blackstone griddle, it’s a clear sign that re-seasoning is needed. This is one of the primary re-seasoning indicators that your griddle’s protective layer is wearing thin. Along with food sticking, watch for discoloration on the surface or uneven cooking results. These are strong hints that the seasoning layer may need a fresh application.
To further assess the need for re-seasoning, perform a simple water test. Sprinkle a few drops of water onto the griddle. If the water beads up, your griddle’s seasoning is still intact. However, if you hear sizzling sounds and see quick water evaporation, it’s time to re-season. These signs indicate that the protective layer is no longer sufficient to maintain non-stick properties.
Regularly inspect your griddle for any signs of wear or damage. This proactive approach helps you catch issues early, ensuring your Blackstone griddle remains in top condition. By keeping an eye out for these re-seasoning indicators and responding promptly, you can enjoy consistently excellent cooking results and prolong the lifespan of your griddle.
Frequently Asked Questions
How Do I Season My Blackstone Griddle for the First Time?
To season your Blackstone griddle, start by properly heating it. Clean the surface, then apply flaxseed oil for an even coating. Repeat the process, avoiding rust. Patience is required. Cool down completely. Cleaning tips enhance cooking techniques.
What is the best oil with which to season Blackstone?
You should use flaxseed oil because it has a high smoke point and is ideal for seasoning. Alternatives include canola, vegetable, avocado, and grapeseed oils. Avoid olive, peanut, coconut, sesame, and sunflower oils for better results.
How Many Times Do You Season a Blackstone Griddle?
It would be best if you seasoned your Blackstone griddle 2-3 times initially. The frequency of seasoning depends on usage. Use proper seasoning techniques for best results. Avoid common seasoning mistakes and follow the essential seasoning timeline for long-lasting benefits.
How Soon Can You Cook on Blackstone After Seasoning?
You can cook on the Blackstone immediately after the seasoning process if the oil’s smoked off. Maximize temperature and heat distribution. No waiting period is needed. Follow a maintenance routine, including cleaning tips, to prevent food from sticking.
Conclusion
By following these steps, you’ll guarantee your Blackstone griddle is perfectly seasoned and ready for cooking. Please choose the right oil, apply it evenly, and let the heat work its magic. Repeat the process a few times to build a strong, non-stick surface. Remember to clean and oil your griddle after each use to maintain the seasoning. If you notice food sticking or discoloration, it’s time for a quick re-seasoning to keep your griddle in top shape.